

Site Staff Personal Reports
Checking your own hours and expenses: My Time Cards and My Expenses on the Personal Reports card, the date range they open on, and the Status column that tells you what has been approved.
Key Concepts
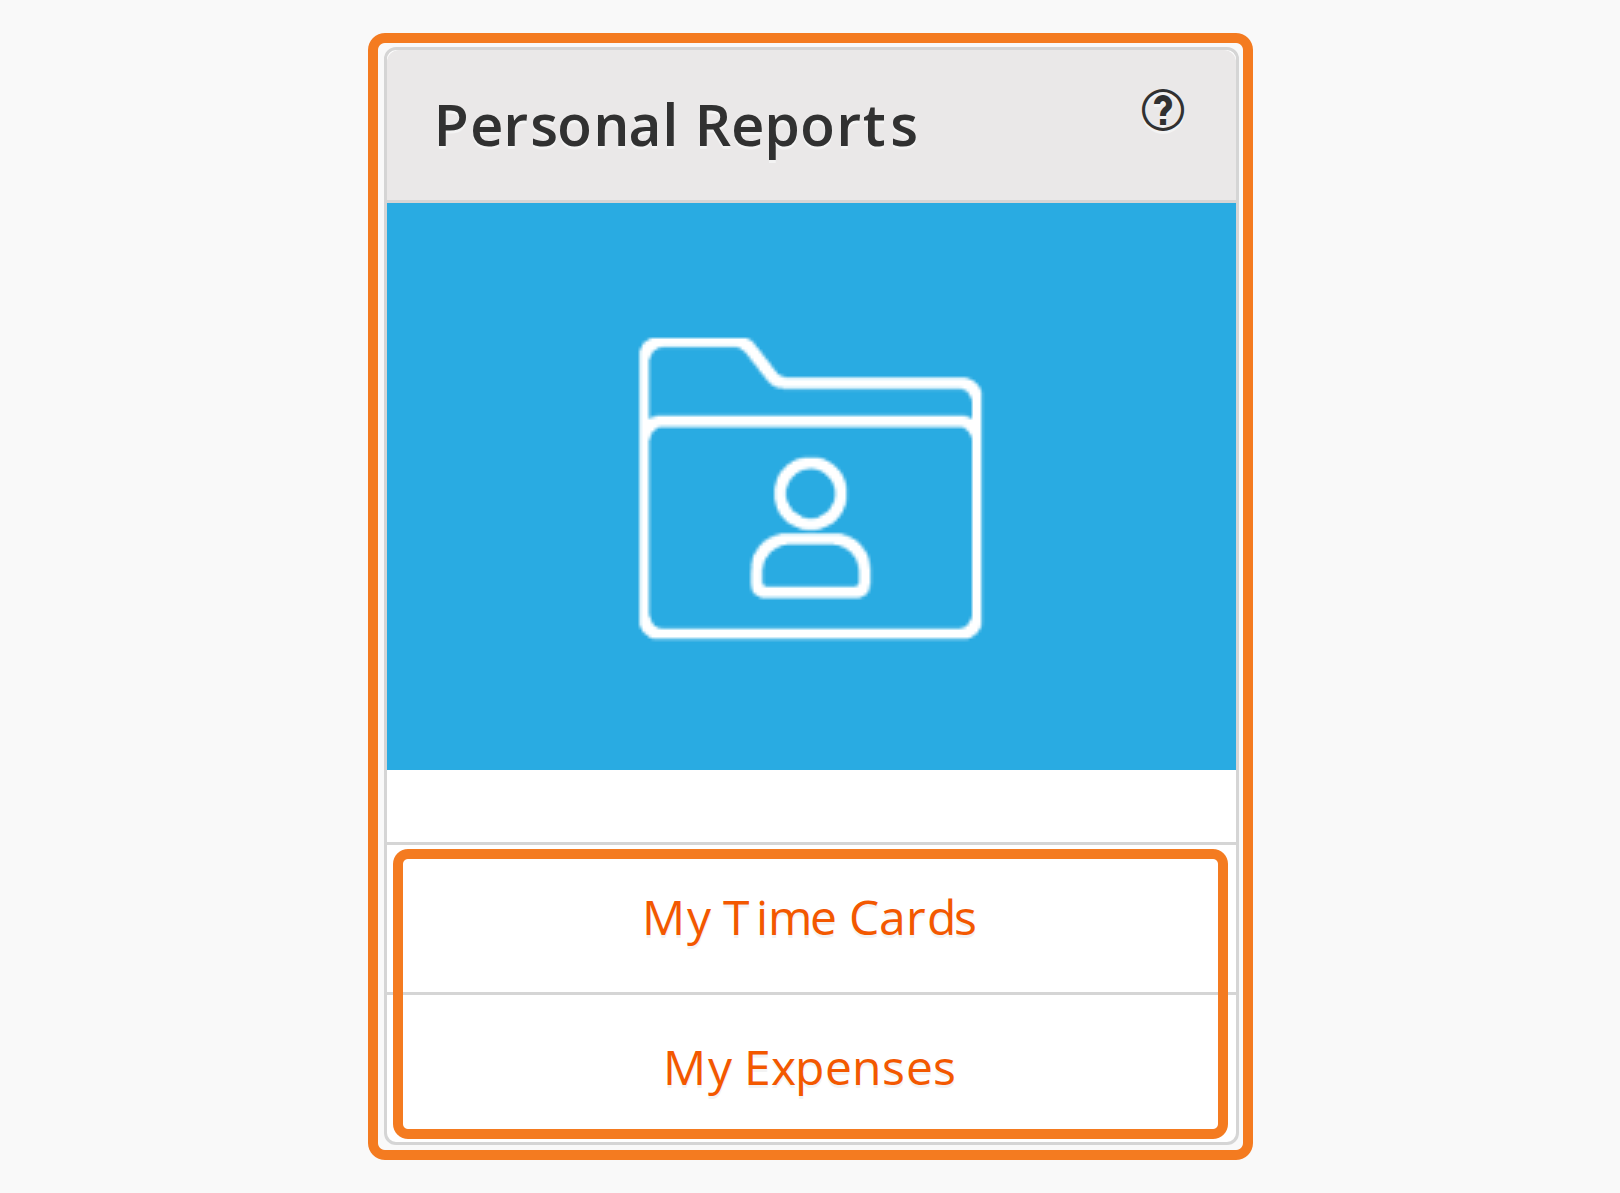
The Personal Reports card on the dashboard holds the reports about your own work: My Time Cards, which lists the hours recorded against your name, and My Expenses, which lists the expenses you filed. Both are read-only.
My Time Cards
On the dashboard, in the Personal Reports card, click My Time Cards.
- Set From: and To:. The report opens on the last two weeks, so widen From: if you are looking for older work.
- Click Load Data. You get one row for every labour line recorded against you, under the columns Date, Job #, DWR #, Project, Line Item, Hours and Status, grouped by day with a Day Total under each day and a Total of the hours at the foot of the grid. The DWR # cell is a link that opens the DWR.
- Export to Excel downloads whatever is in the grid.
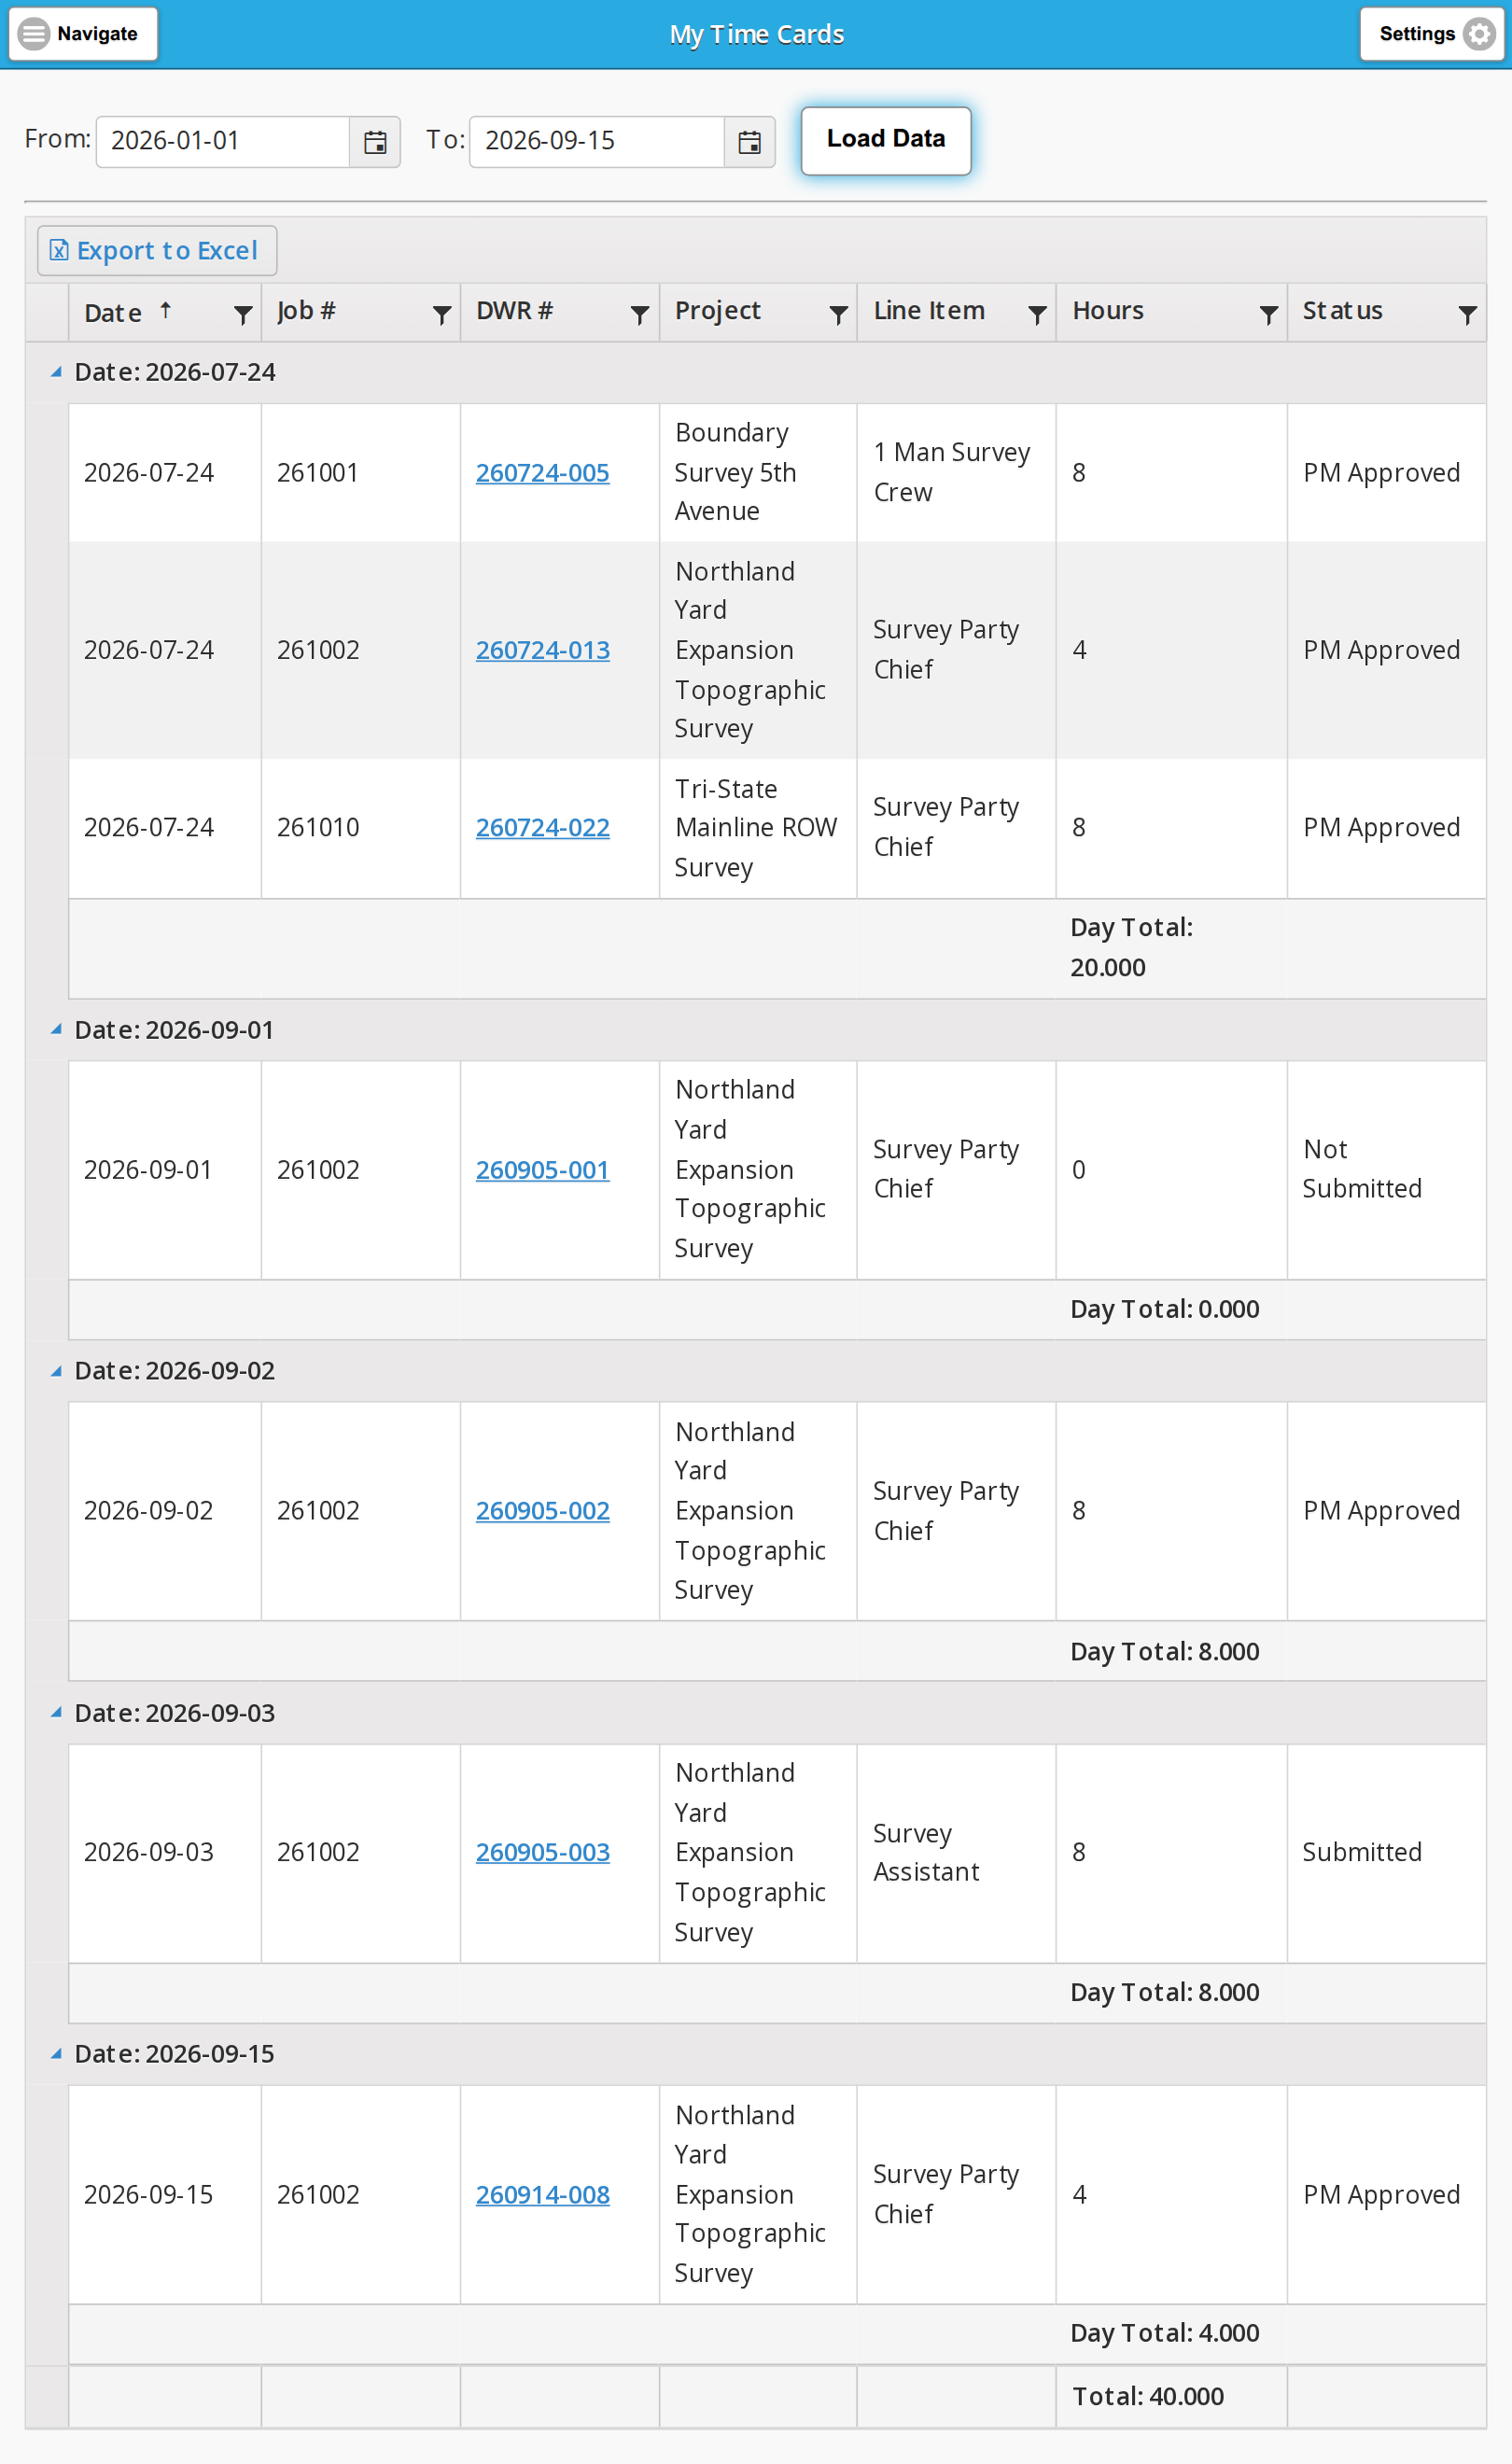
Status is the status of the Daily Work Record the hours came from. Hours arrive here from the DWRs you are named on, whoever typed them up. If a day is missing, either it falls outside From: and To: or the DWR carrying it has not been created yet; see Site Staff DWR Entry.
My Expenses
On the dashboard, in the Personal Reports card, click My Expenses. It works the same way: set From: and To:, click Load Data, and you get one row per expense.
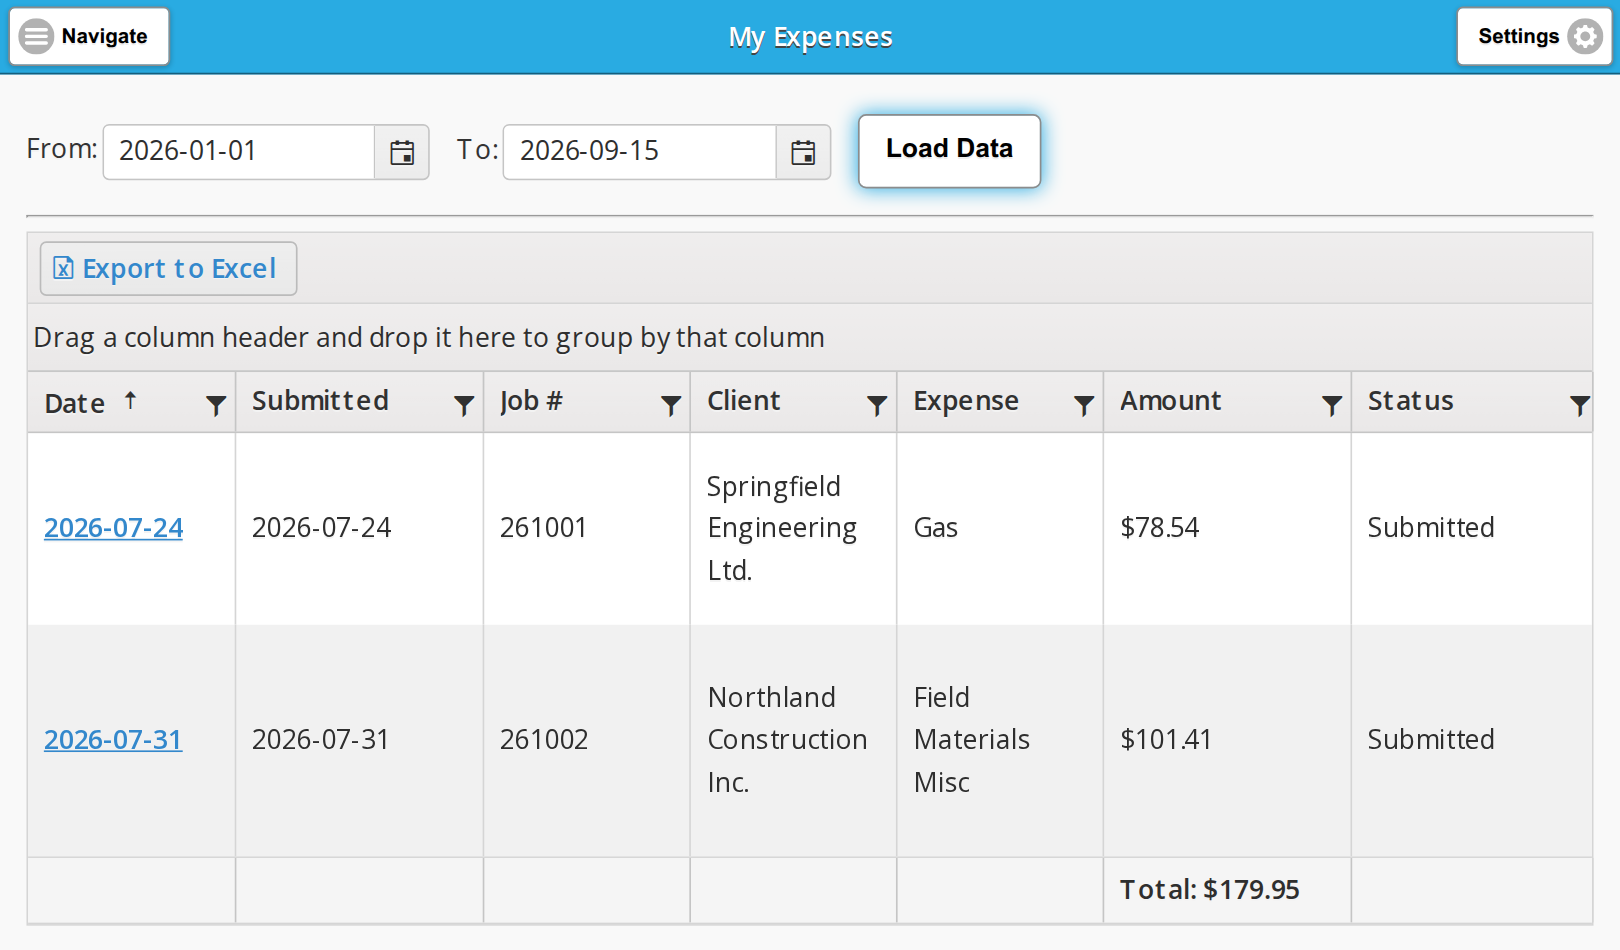
- The columns are Date, Submitted, Job #, Client, Expense, Amount, Status and Description, and a Total: of the amounts at the foot of the grid, which reads
Total: $0.00before you load anything. - Status is the fastest way to see how far a reimbursement has got, and the Date cell is a link that opens the expense.
- The strip above the column headers reads “Drag a column header and drop it here to group by that column”. Drop the Client header on it and your expenses are grouped by client.
- On both reports the funnel in a column header opens a Filter panel: choose an operator such as Contains, type the value and click Filter. The panel is described under Filtering on Report Grids.
Filing the expenses that end up here is covered in Site Staff Expense Entry.
For every column on both reports, and for the reports filled in, see the administrator’s guide.
Last updated