Expense Entry
Technicians usually submit expenses for reimbursement, but project managers and administrators can follow the same workflow. Submit expenses promptly so reimbursements stay on schedule and job costs stay accurate.
Click Create New in Expenses on the dashboard. The Date defaults to today; set it to the day the purchase occurred. The Employee defaults to the logged-in user, but you can file on behalf of another employee if needed. Match the Job to the work the expense supports.

Choose the Expense Item category that best describes the purchase (the list is configured by administrators), enter the total amount shown on the receipt, and add a short description explaining the expense for approvers. Use the Attachments button to take a photo or upload a file of the receipt; add supporting documents like hotel folios when applicable. Attach receipts as soon as possible so they are legible and easy to approve.
If you still need to gather information, leave Submitted unchecked and click Save to keep a draft. When everything is complete, check Submitted and save to send the expense to the approval backlog.
Job Book will highlight any missing required fields in red if validation fails—fix the issues and save again.

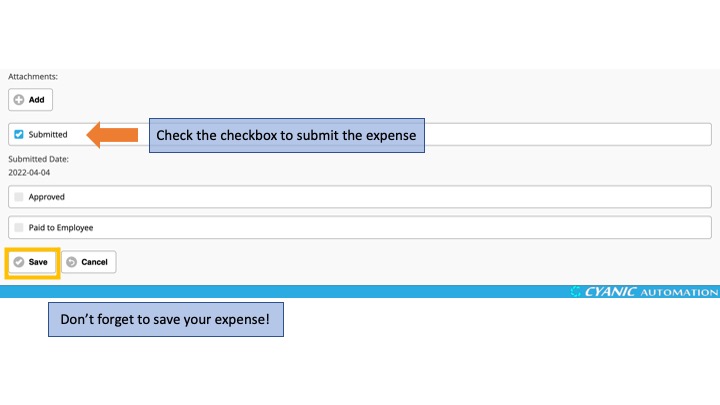
From the dashboard, click Explore on the Expenses card to review your entries. Draft expenses appear in My Expenses and can be edited, exported to PDF, or deleted. Submitted expenses move to the approval backlog and become read-only in All My Expenses once approved. The Submitted Date is recorded automatically when you save.
Best practices:
- Submit expenses daily or weekly so amounts are fresh and reimbursements stay timely.
- Match each expense to the same job you used on your DWR to keep budgets aligned.
- Attach receipts immediately to avoid lost or faded copies.
- Use meaningful descriptions and double-check totals before submitting to prevent approval delays.