

Site Staff Expense Entry
Filing an out-of-pocket expense from the field: the Create form from Date to Submitted, photographing the receipt, and the views a technician gets on the Expenses list.
Key Concepts
An expense is money you paid out of your own pocket on a job and need back, and you file one for each payment or receipt. You can file it from your phone before you leave site.
Filing an expense, step by step
On the dashboard, in the Expenses card, click Create New. The form opens titled Create, and the red stars mark the fields you have to fill in.
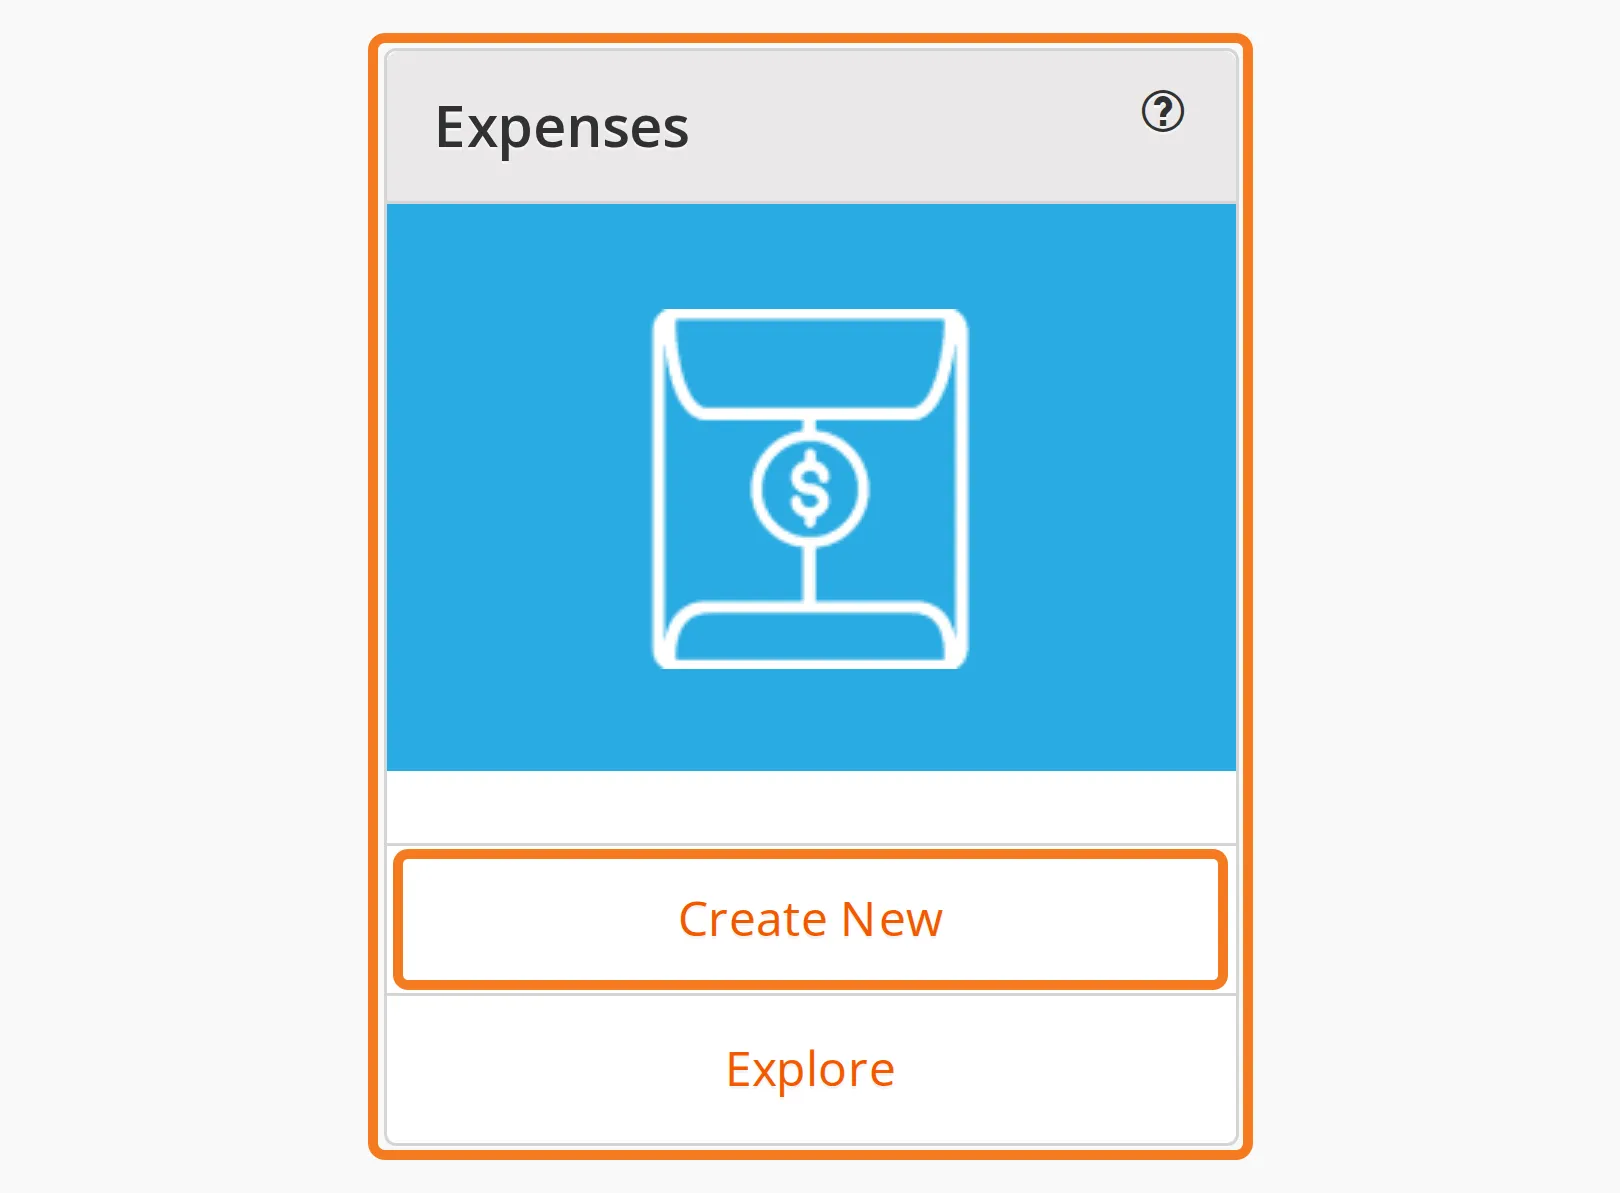
Create New is where an expense starts, before you leave site if you can. 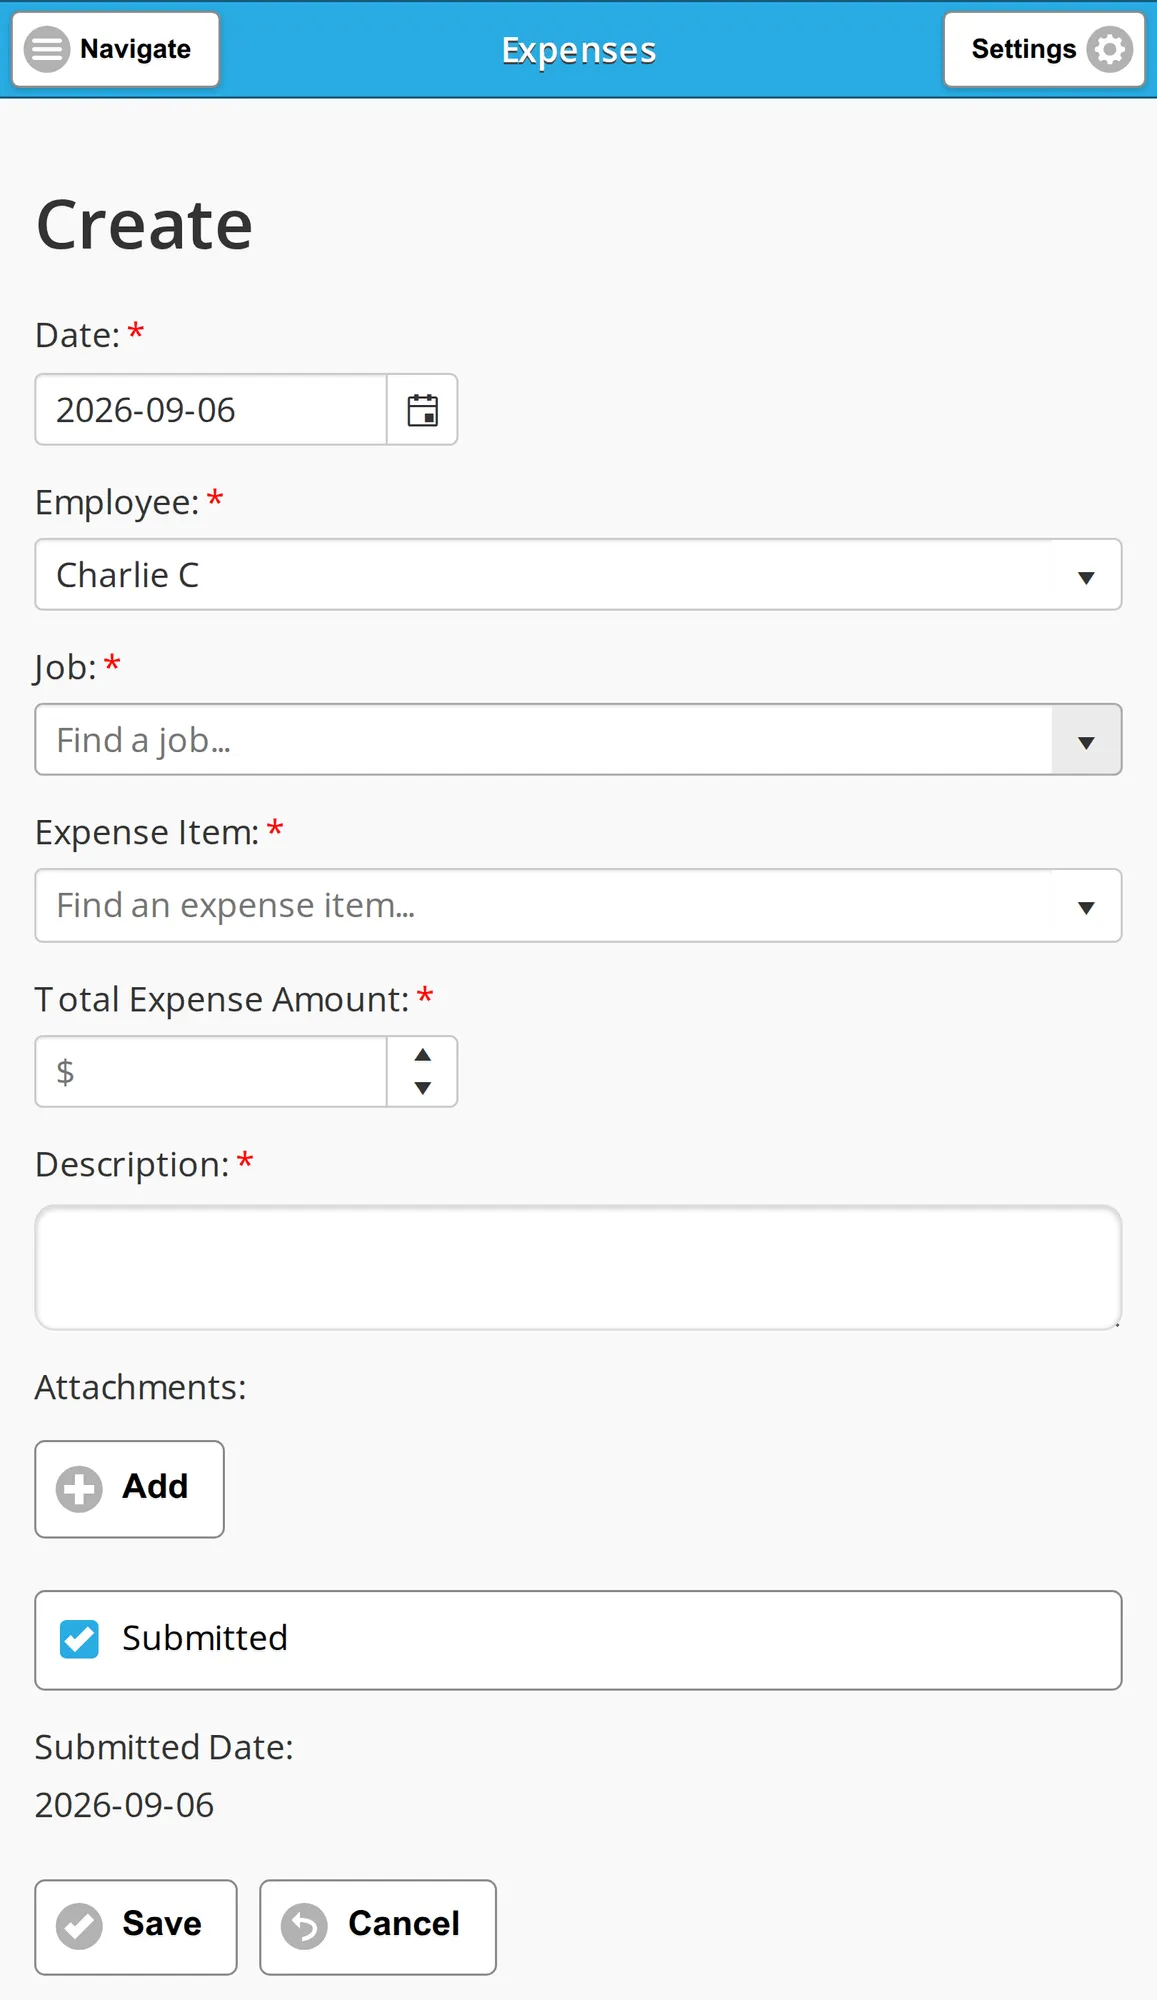
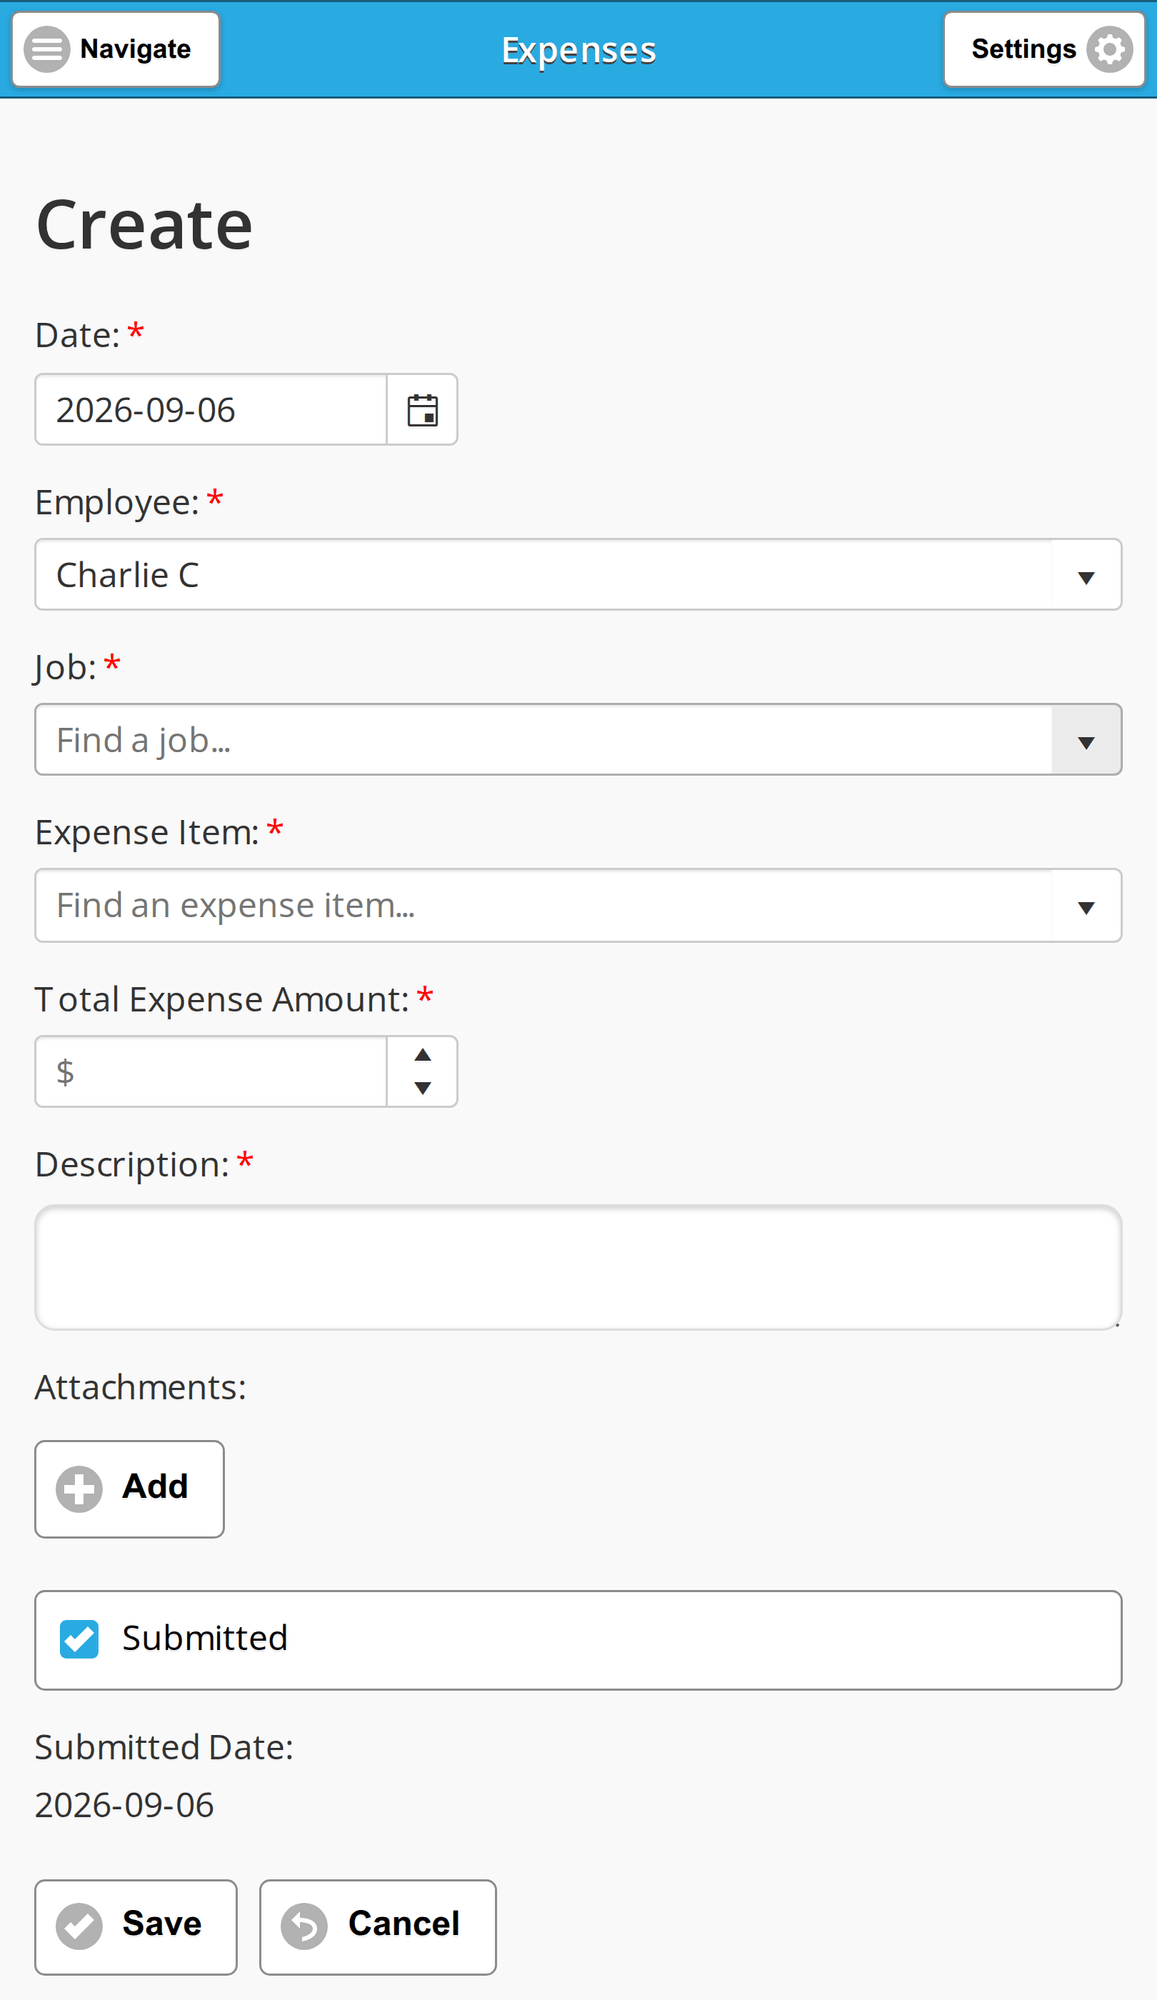
One expense per receipt, with its picture taken from the form. Date: starts on today. Set it to the day the purchase happened, even if you are filing later in the week. Employee: is already you, so change it only if you are filing for somebody else.
Pick the Job: the purchase was for, then the category in Expense Item:, which lists the expense types your administrators have set up.
Type the amount on the receipt into Total Expense Amount:, and use Description: for a quick note explaining the purchase, such as “Filled unit 204 after Boundary Survey”.
Under Attachments:, tap Add and attach the receipt, and any supporting document such as a hotel folio. On a phone you can take the picture there and then; on a computer you upload a file instead. Job Book keeps the attachment with the record, so nobody has to chase you for it.
Submitted is ticked when the form opens. Leave it ticked to send the expense for approval, or clear it to save a draft while you are still gathering receipts. Click Save. If a required field is empty, Job Book says “One or more values are invalid, please check your form.” and highlights the field in red; fill it in and save again.
Where to look when you need the expense again
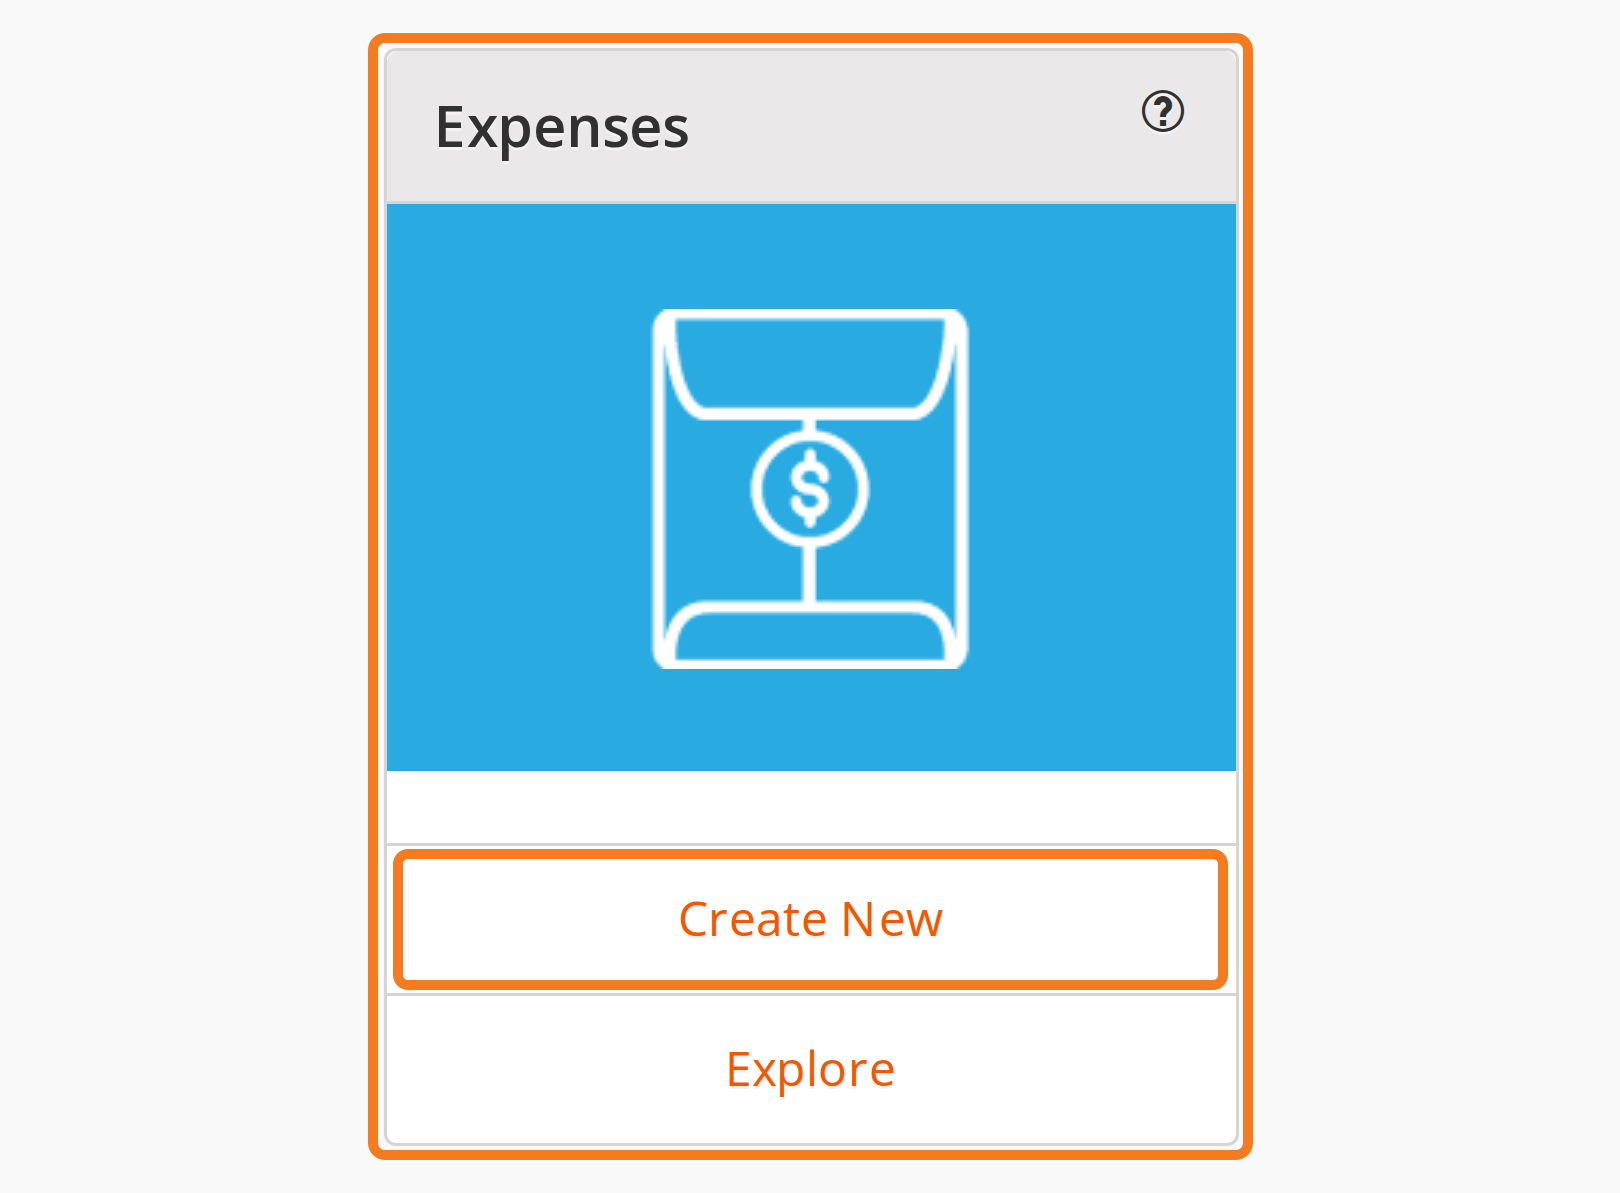
On the dashboard, in the Expenses card, click Explore. A technician gets the views My Expenses and All My Expenses:
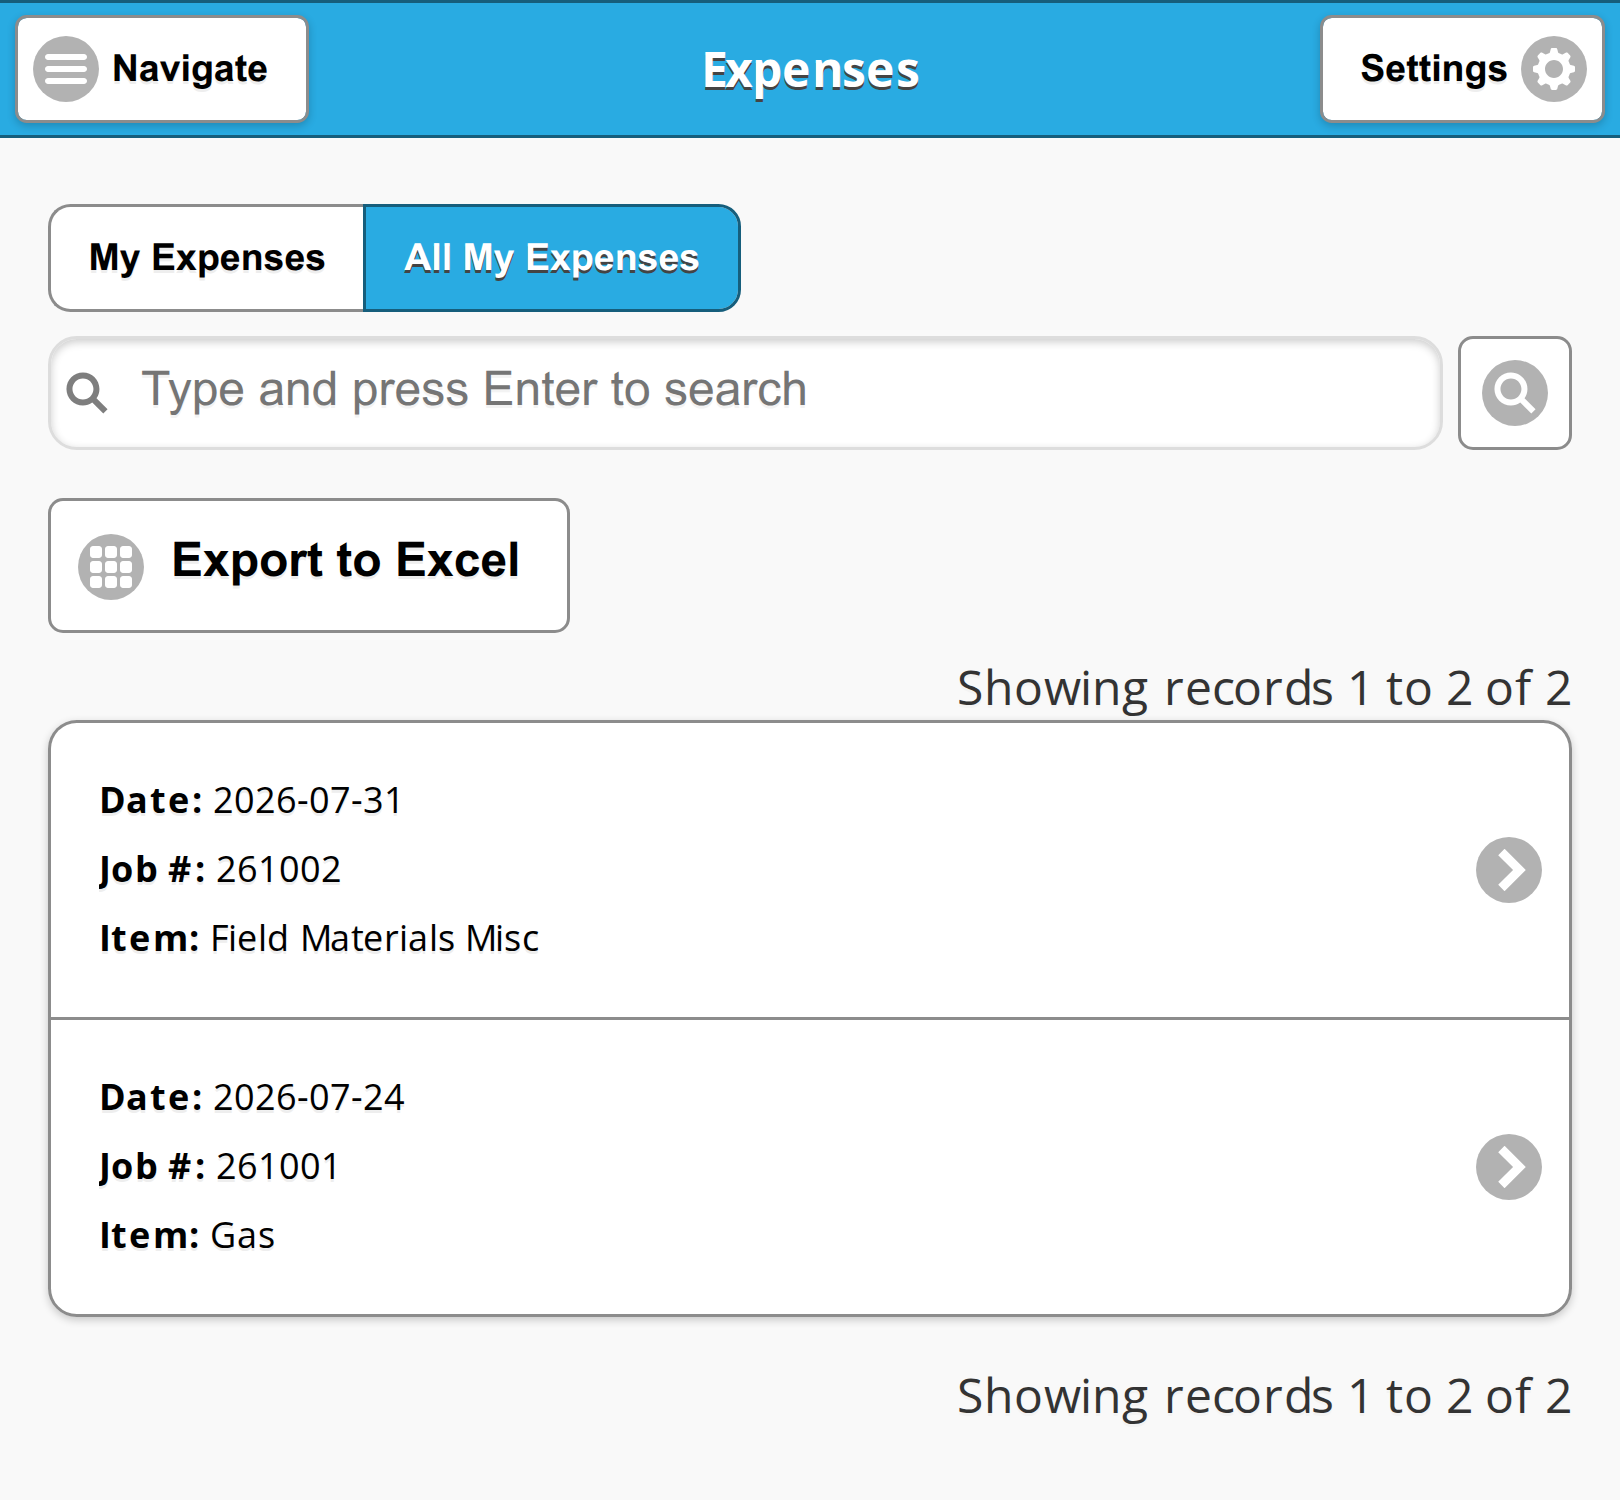
- My Expenses: the expenses you have created but not yet submitted. A draft waits here until you open it, click Edit, tick Submitted and save. A draft is also the only expense you can delete yourself, with Delete on its display view; once submitted, ask a Manager or an Administrator to remove it.
- All My Expenses: all of your expenses, so this is where a submitted one is waiting to be approved. A submitted expense opens read-only here, approved or not: once you have submitted it, ask a Manager or an Administrator if something has to change. They can fix it, or clear Submitted so it comes back to My Expenses for you to correct and submit again. There is no Create button on this view either.
To check whether an expense has been approved, on the dashboard, in the Personal Reports card, click My Expenses and read the Status column, which is covered in Site Staff Personal Reports.
Best practices
- Submit expenses daily, or at least weekly, so approvers have fresh details and you get reimbursed faster.
- Match the expense to the same job you used on your Daily Work Record (DWR). An expense filed against the wrong job distorts two budgets.
- Upload receipts right away. A faded or missing receipt slows the approval and may not be reimbursed at all.
- Use descriptions that say what the purchase was for, so approvers do not have to call you.
- Review your totals before submitting. Fixing a small error now saves the expense being handed back to you later.
For every field on this form, see the administrator’s guide.
Video
 Coming soon
 Last updated