

Job Maps
How to open the Job Explorer, filter it, read the Jobs and Locations grids, and switch the map between Map and Satellite view.
Key Concepts
Job Maps (Job Explorer) puts your jobs on a map. The dashboard card is titled Job Maps, the screen its link opens is titled Job Explorer, and the rest of this page calls the screen Job Explorer. What a searchable job map does for a surveying business is on the Job Search & Maps product page; this page is how to use the screen.
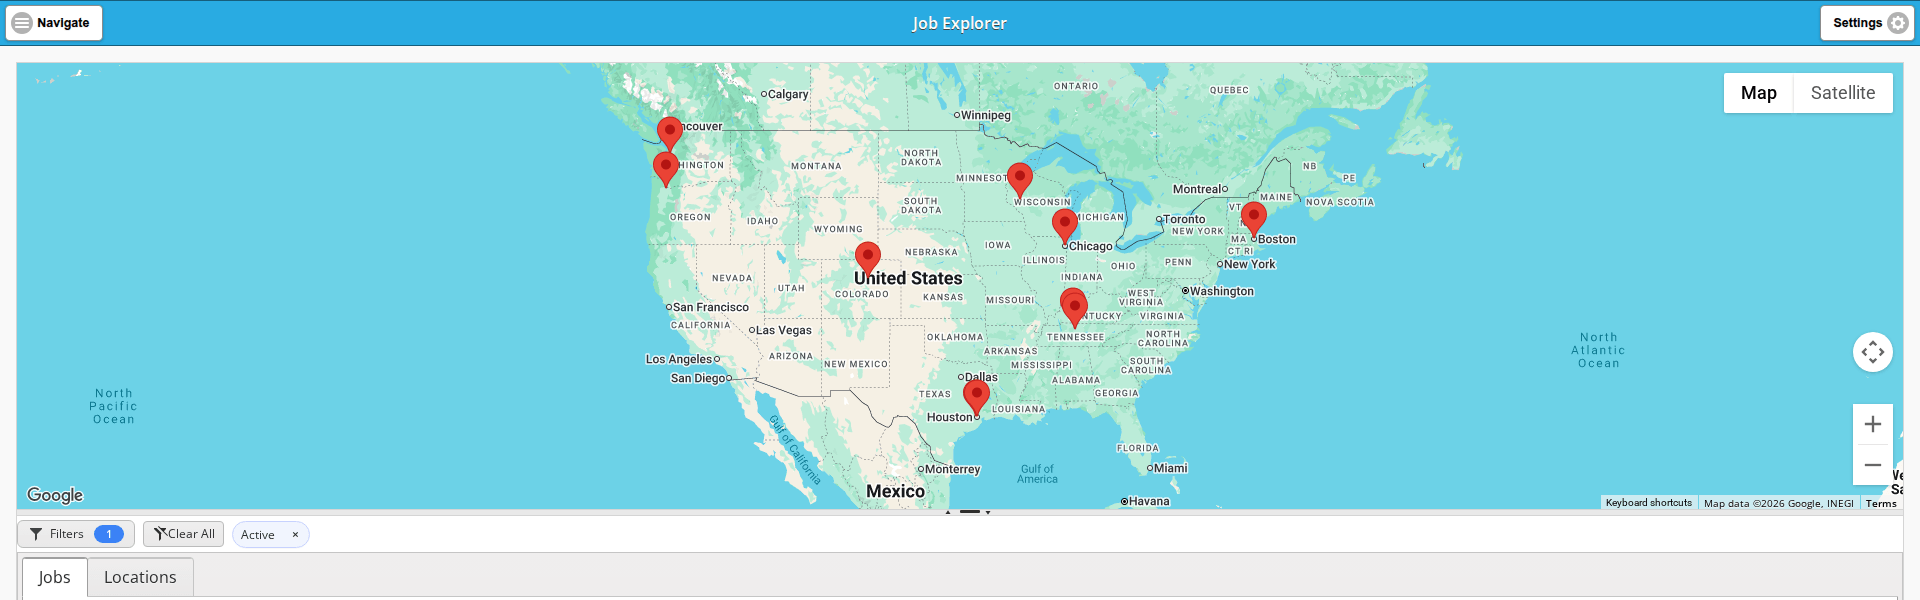
The screen is one Google map of job locations above two grids of the same jobs, with the filter bar in between: the map at the top, then Filters, Clear All and the filter chips, then the Jobs and Locations tabs.
- Active: the filter Job Explorer starts with, so the screen opens on active jobs rather than everything.
- The count at the right of each grid says how many rows that tab holds, so many jobs on the Jobs tab and so many locations on the Locations tab.
The Job Maps card is on the Administrator, Manager and Job Coordinator dashboards. The Technician dashboard does not have it.
Performing Common Tasks
Opening Job Explorer
On the dashboard, in the Job Maps card, click Job Explorer. It is the card’s only link.
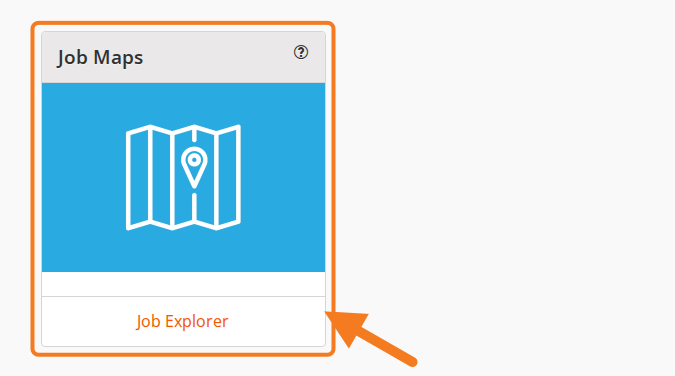
The screen opens on the Jobs tab, filtered to active jobs so you are not looking at everything you have ever done.
Filtering what you see
Job Explorer shows at most 1000 jobs, so filtering is how you get to the ones you want.
Click Filters on the filter bar to open the Filters dialog.

- A search box reading Type here to search… sits at the top of the dialog.
- Add Filter adds a filter row.
- Each filter row is three dropdowns: the field, the comparison and the value. The one row Job Explorer opens with reads Active / Is equal to / Yes.
- The field dropdown offers Job #, Status, Client Name, Client Type, Project Name, Office, Project Manager, Municipal Address, State / Province, City, Category, Scope, Order Date, Due Date, Active, Lot, Block, Plan Number, Lsd, Section Number, Township Number, Range Number and Meridian. The last eight are the legal land description, so a job can be found by its legal location rather than its street address. The job form labels the same fields Plan #, LSD, Section #, Township # and Range #. Client Type, Category and Scope filter on the tags listed in Job and Client Attribute Tags.
- Apply applies the filters and leaves the dialog open. Apply & Close applies them and closes it. Clear clears the filters. Close, and the × in the dialog’s title bar, close the dialog.
Back on the filter bar, each filter in force is a chip. Click a chip’s × to drop that filter, or Clear All to drop them all. The number on the Filters badge follows the number of chips.
The Jobs tab
The Jobs tab is one row per job. Export to Excel sits at the left of the toolbar and the count at the right. Under the toolbar, the grouping bar reads “Drag a column header and drop it here to group by that column”. The headers have no column menu: click a header to sort, and a second header adds a sort inside the first; drag a header onto the grouping bar to group; drag a header left or right to move the column.
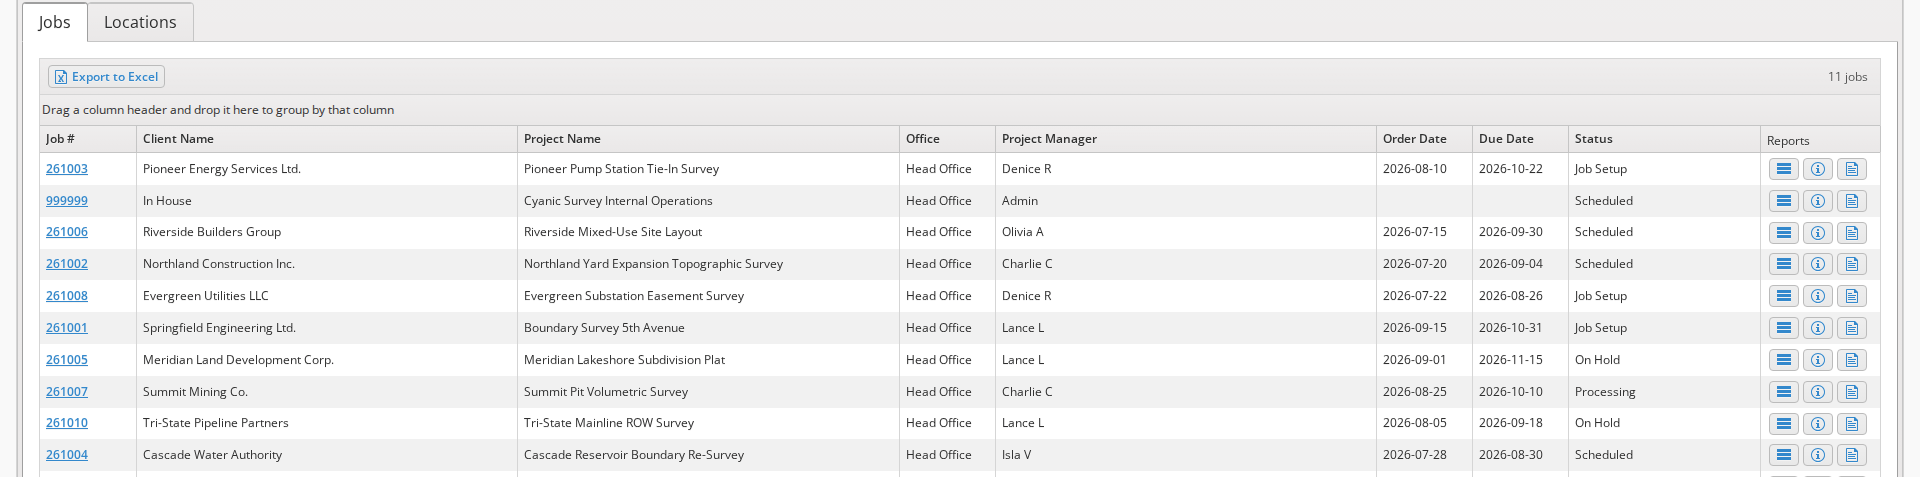
The columns are Job #, Client Name, Project Name, Office, Project Manager, Order Date, Due Date, Status and Reports.
- Job # is a link that opens the job.
- Reports holds an icon per report on every row. Hover one to read its title: Charge-Out Rate, Summary and History. They open the reports described on Job Reports.
The Locations tab
Click Locations for one row per job location. Unlike the Jobs tab, this grid is the full report grid described on Report Grids: the template toolbar sits beside Export to Excel, and every column header carries a ⋮ column menu. One thing is particular to it: Latitude and Longitude are hidden to start with; tick them under Columns to show them.
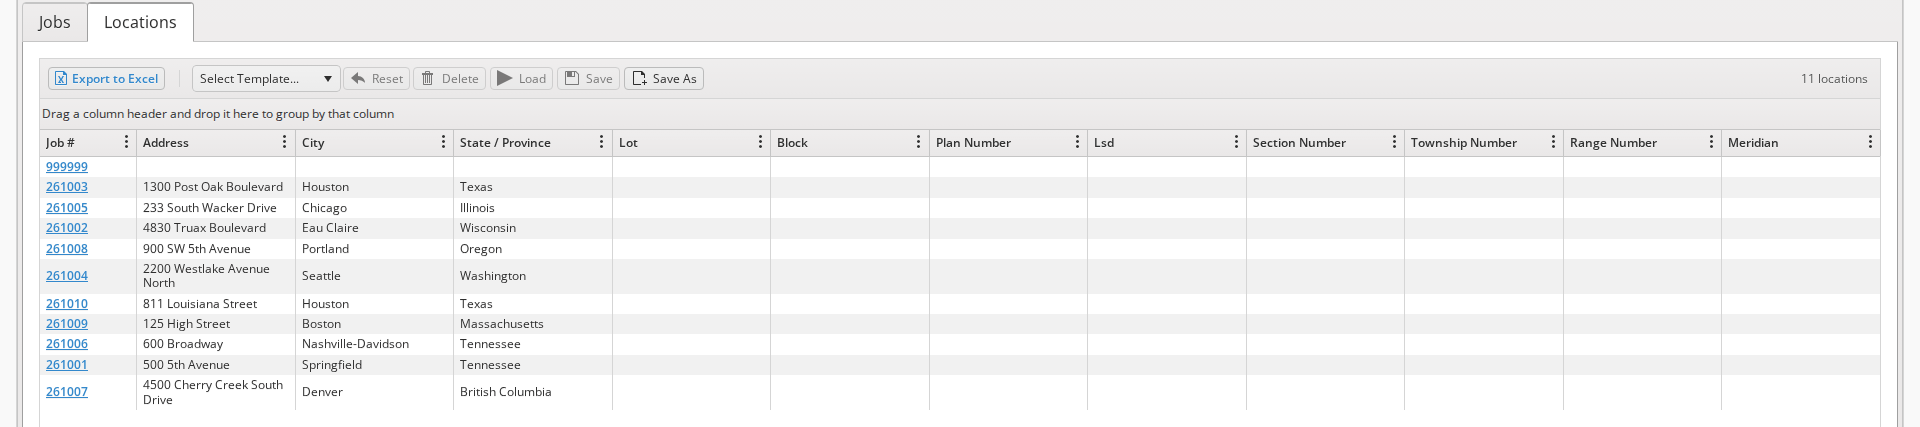
The columns are Job #, Address, City, State / Province, Lot, Block, Plan Number, Lsd, Section Number, Township Number, Range Number and Meridian.
- Job # is a link that opens the job, the same as on the Jobs tab.
- A location leaves blank whatever it does not carry, so a job with no street address shows an empty Address, City and State / Province.
Using the map
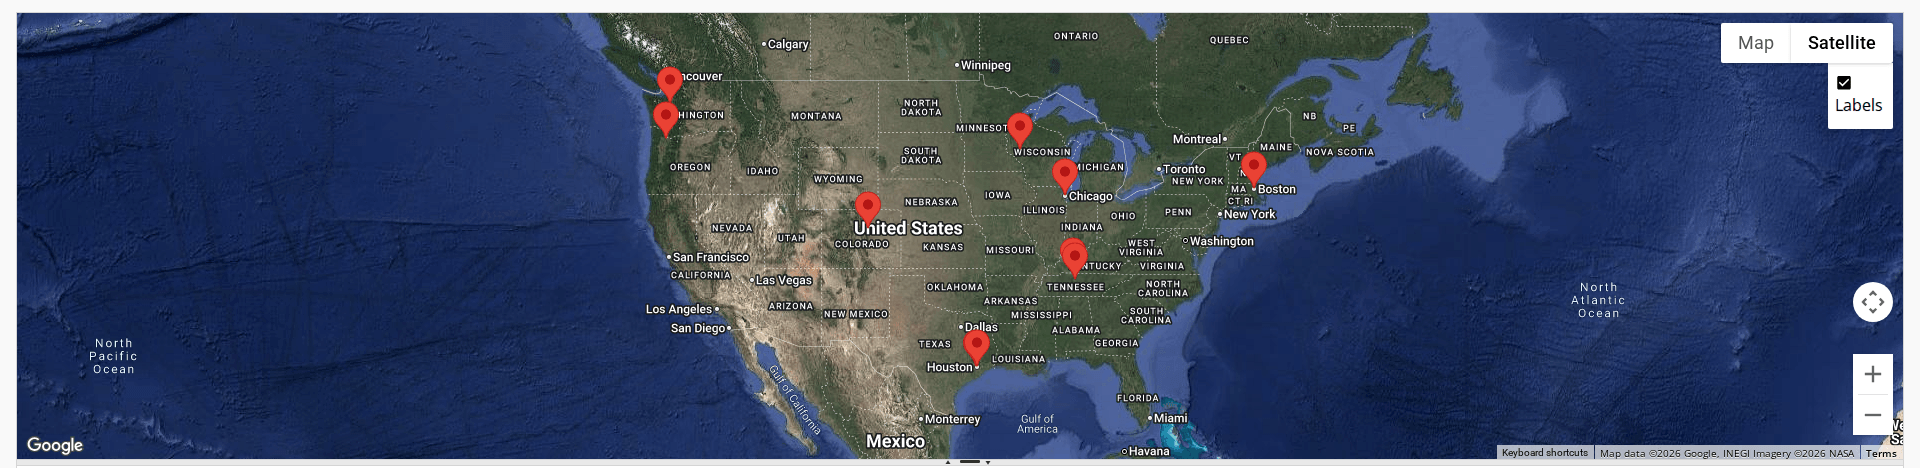
The map shows the same jobs the grids do, one red pin per location.
Map and Satellite, at the top right of the map, switch between the road map and the aerial imagery. Satellite adds a Labels checkbox below the two buttons, ticked.
Last updated