Clients
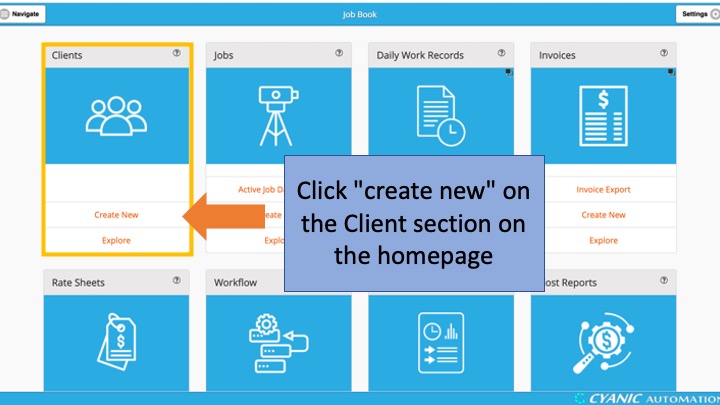
To add a Client to Job Book, click Create New on the Clients card at the top left of the dashboard. Only Administrators and Job Coordinators can create clients.
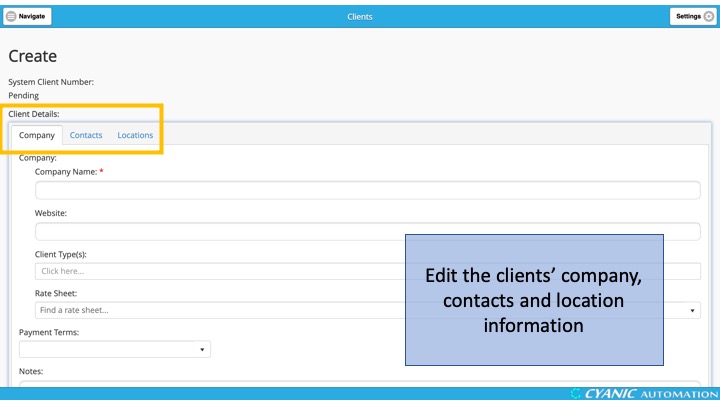
Company Name
Enter the client name exactly as you want it to appear on jobs and invoices. Use the homeowner’s name for residential work. Fields marked with a red asterisk are required.
Website
The URL of the client’s website (if any).
Client Type(s)
One or more ‘client type’ that can be searched later in Job Maps.
Rate Sheet
The default Rate Sheet that is used for new Jobs for this client.
Payment Terms
Select a preset option (for example, Account - 30) or enter custom text. Payment terms are for reference only and do not change system behaviour.
Notes
Optional internal notes about the client.
Attachments
Upload supporting files such as contracts or rate agreements for quick access.
Contacts
Use the Contacts tab to add one or more client contacts. Click Add to insert a contact row. First Name and Last Name are required; the rest of the fields are optional.
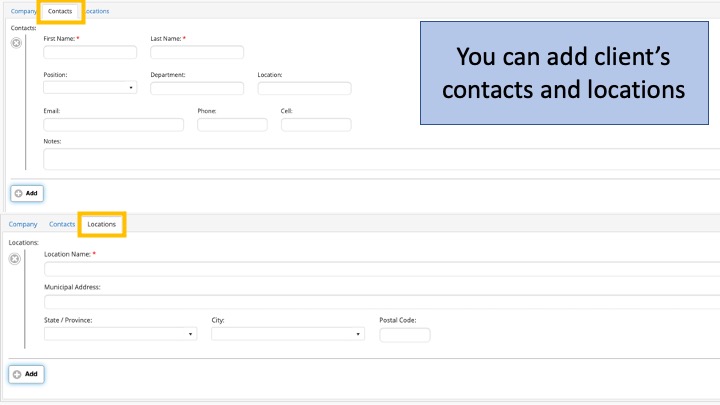
Locations
In the Addresses tab, add billing locations for this client. These are office or mailing addresses, not job sites. Each address can be selected later when setting up a job or invoice.
Active
If checked, this client can be selected when creating a new job.
Managing Clients
To edit an existing client, click Explore on the Clients card to open the Client Item List. The list defaults to the Active tab; switch to All to see every client in the system.
Select a client to open the detail view. From here you can edit, export to PDF, or return to the list. Each client has a System Client Number and an editable Client Number Alias you can match to your internal numbering.
Click Edit to update any field. If you miss a required field, it will be highlighted in red on the relevant tab.
When a client should no longer be used, clear the Active checkbox instead of deleting. Deactivating keeps historical data intact while preventing new jobs from being tied to that client.